New server hardware
Table of Contents
This post is the translation of Neue Server Hardware.
In this post I document the building process of my new server.
Introduction
First, let’s address the question of why I am building a new server in the first place. The available storage space on my previous server was decreasing more and more. The simple solution, I thought, was to purchase two new hard drives with higher capacity, which I would then connect to the server using a RAID1 configuration. Something in the back of my mind told me that I had forgotten something. I had already thought about buying new hard drives, but I had recognized some kind of problem at the time, which is why I had postponed the task for the time being. However, since I couldn’t remember exactly what the problem was, I ordered two more hard drives to solve the storage space problem.
After the hard drives arrived, I eagerly installed them in the server’s hard drive dock.
Now all I had to do was configure the hard drives and the storage space problem should
be solved solved.
To format the drives, all I needed was the device file (/dev/sdX).
So I ran a simple lsblk to list all connected block devices and…
The newly installed drives were not listed.
After a quick inspection of the hard drive dock, I realized that without SATA cables, the
problem was hardly surprising.
At second glance, however, I remembered the problem, which I had previously
been unable to recall.
The motherboard only had one SATA port available instead of the two that were needed.
There were two possible solutions to this problem:
- More SATA ports via a RAID controller
- More SATA ports via a different motherboard
Fortunately, I still had a motherboard with 8 SATA ports lying around from a replaced computer. That settled the matter, and construction of the new server could begin.
Assembly
I am using a 4U rack case with a depth of 48 cm, which was donated to me.
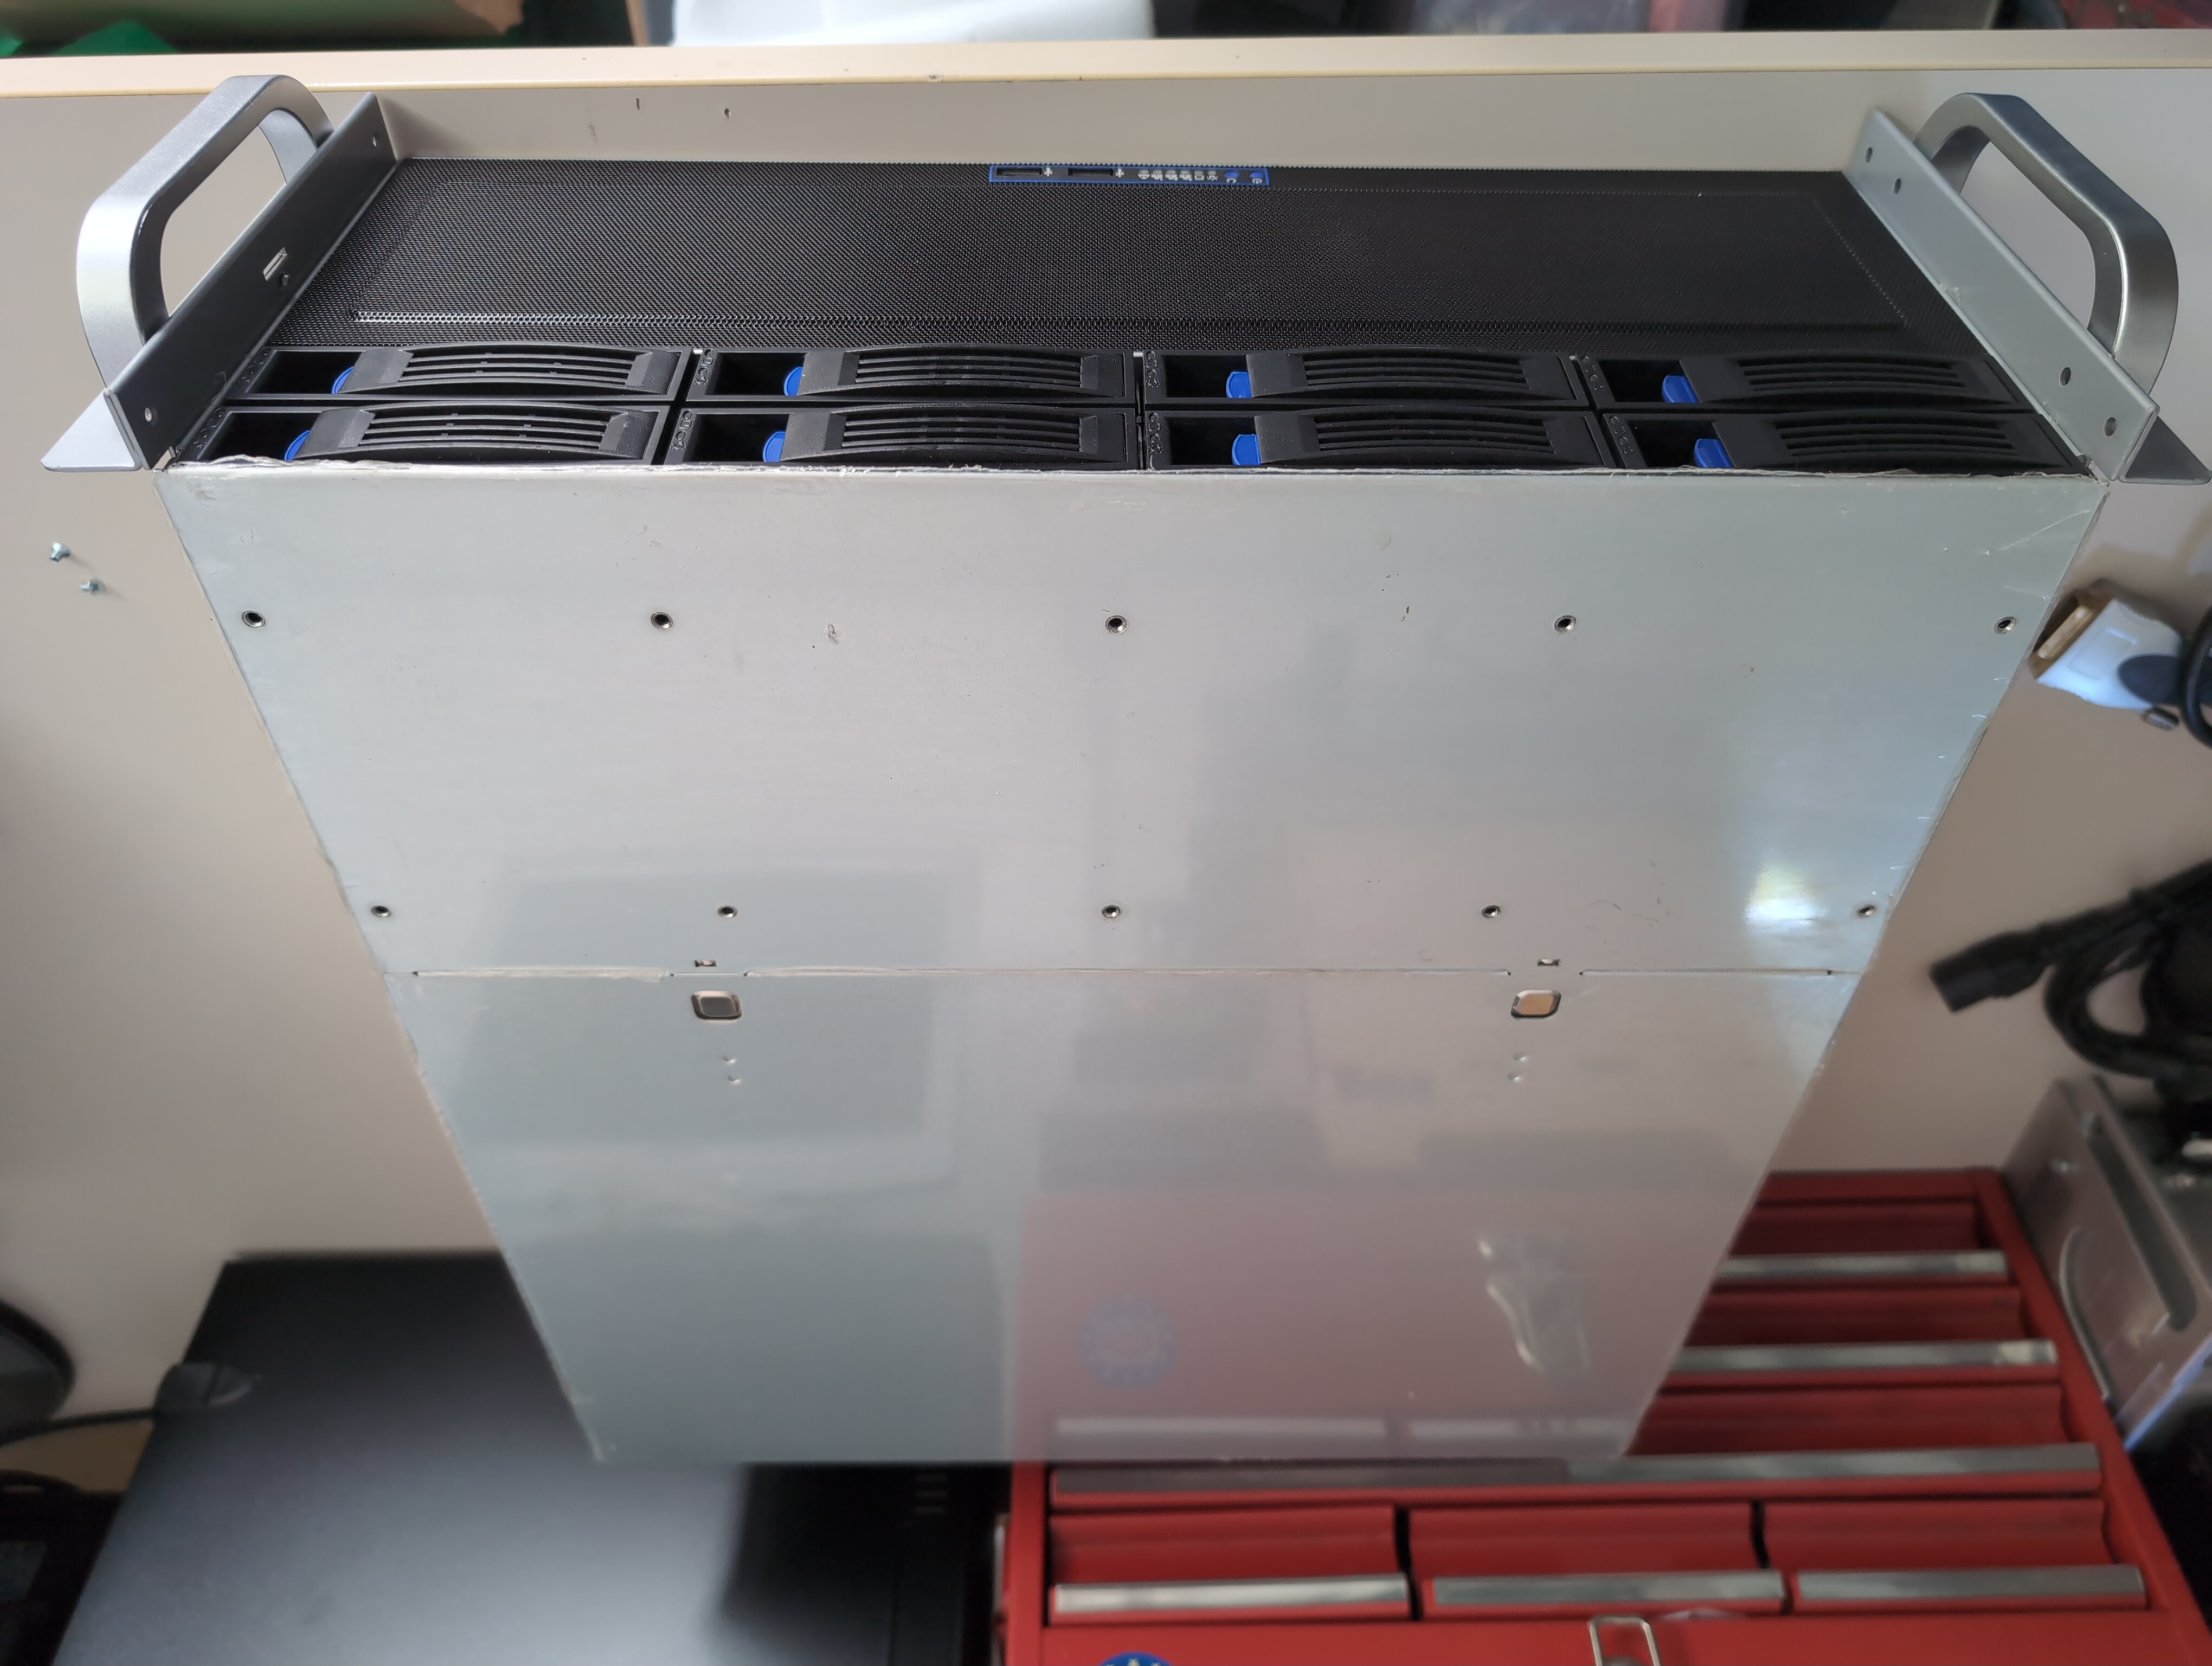 The nice thing about this case is that it has 8 HDD slots and also offers the option
of installing hard drives internally.
It is also possible to install a standard desktop PSU.
Since I still had an old computer with spare parts laying around,
this came in very handy.
The nice thing about this case is that it has 8 HDD slots and also offers the option
of installing hard drives internally.
It is also possible to install a standard desktop PSU.
Since I still had an old computer with spare parts laying around,
this came in very handy.
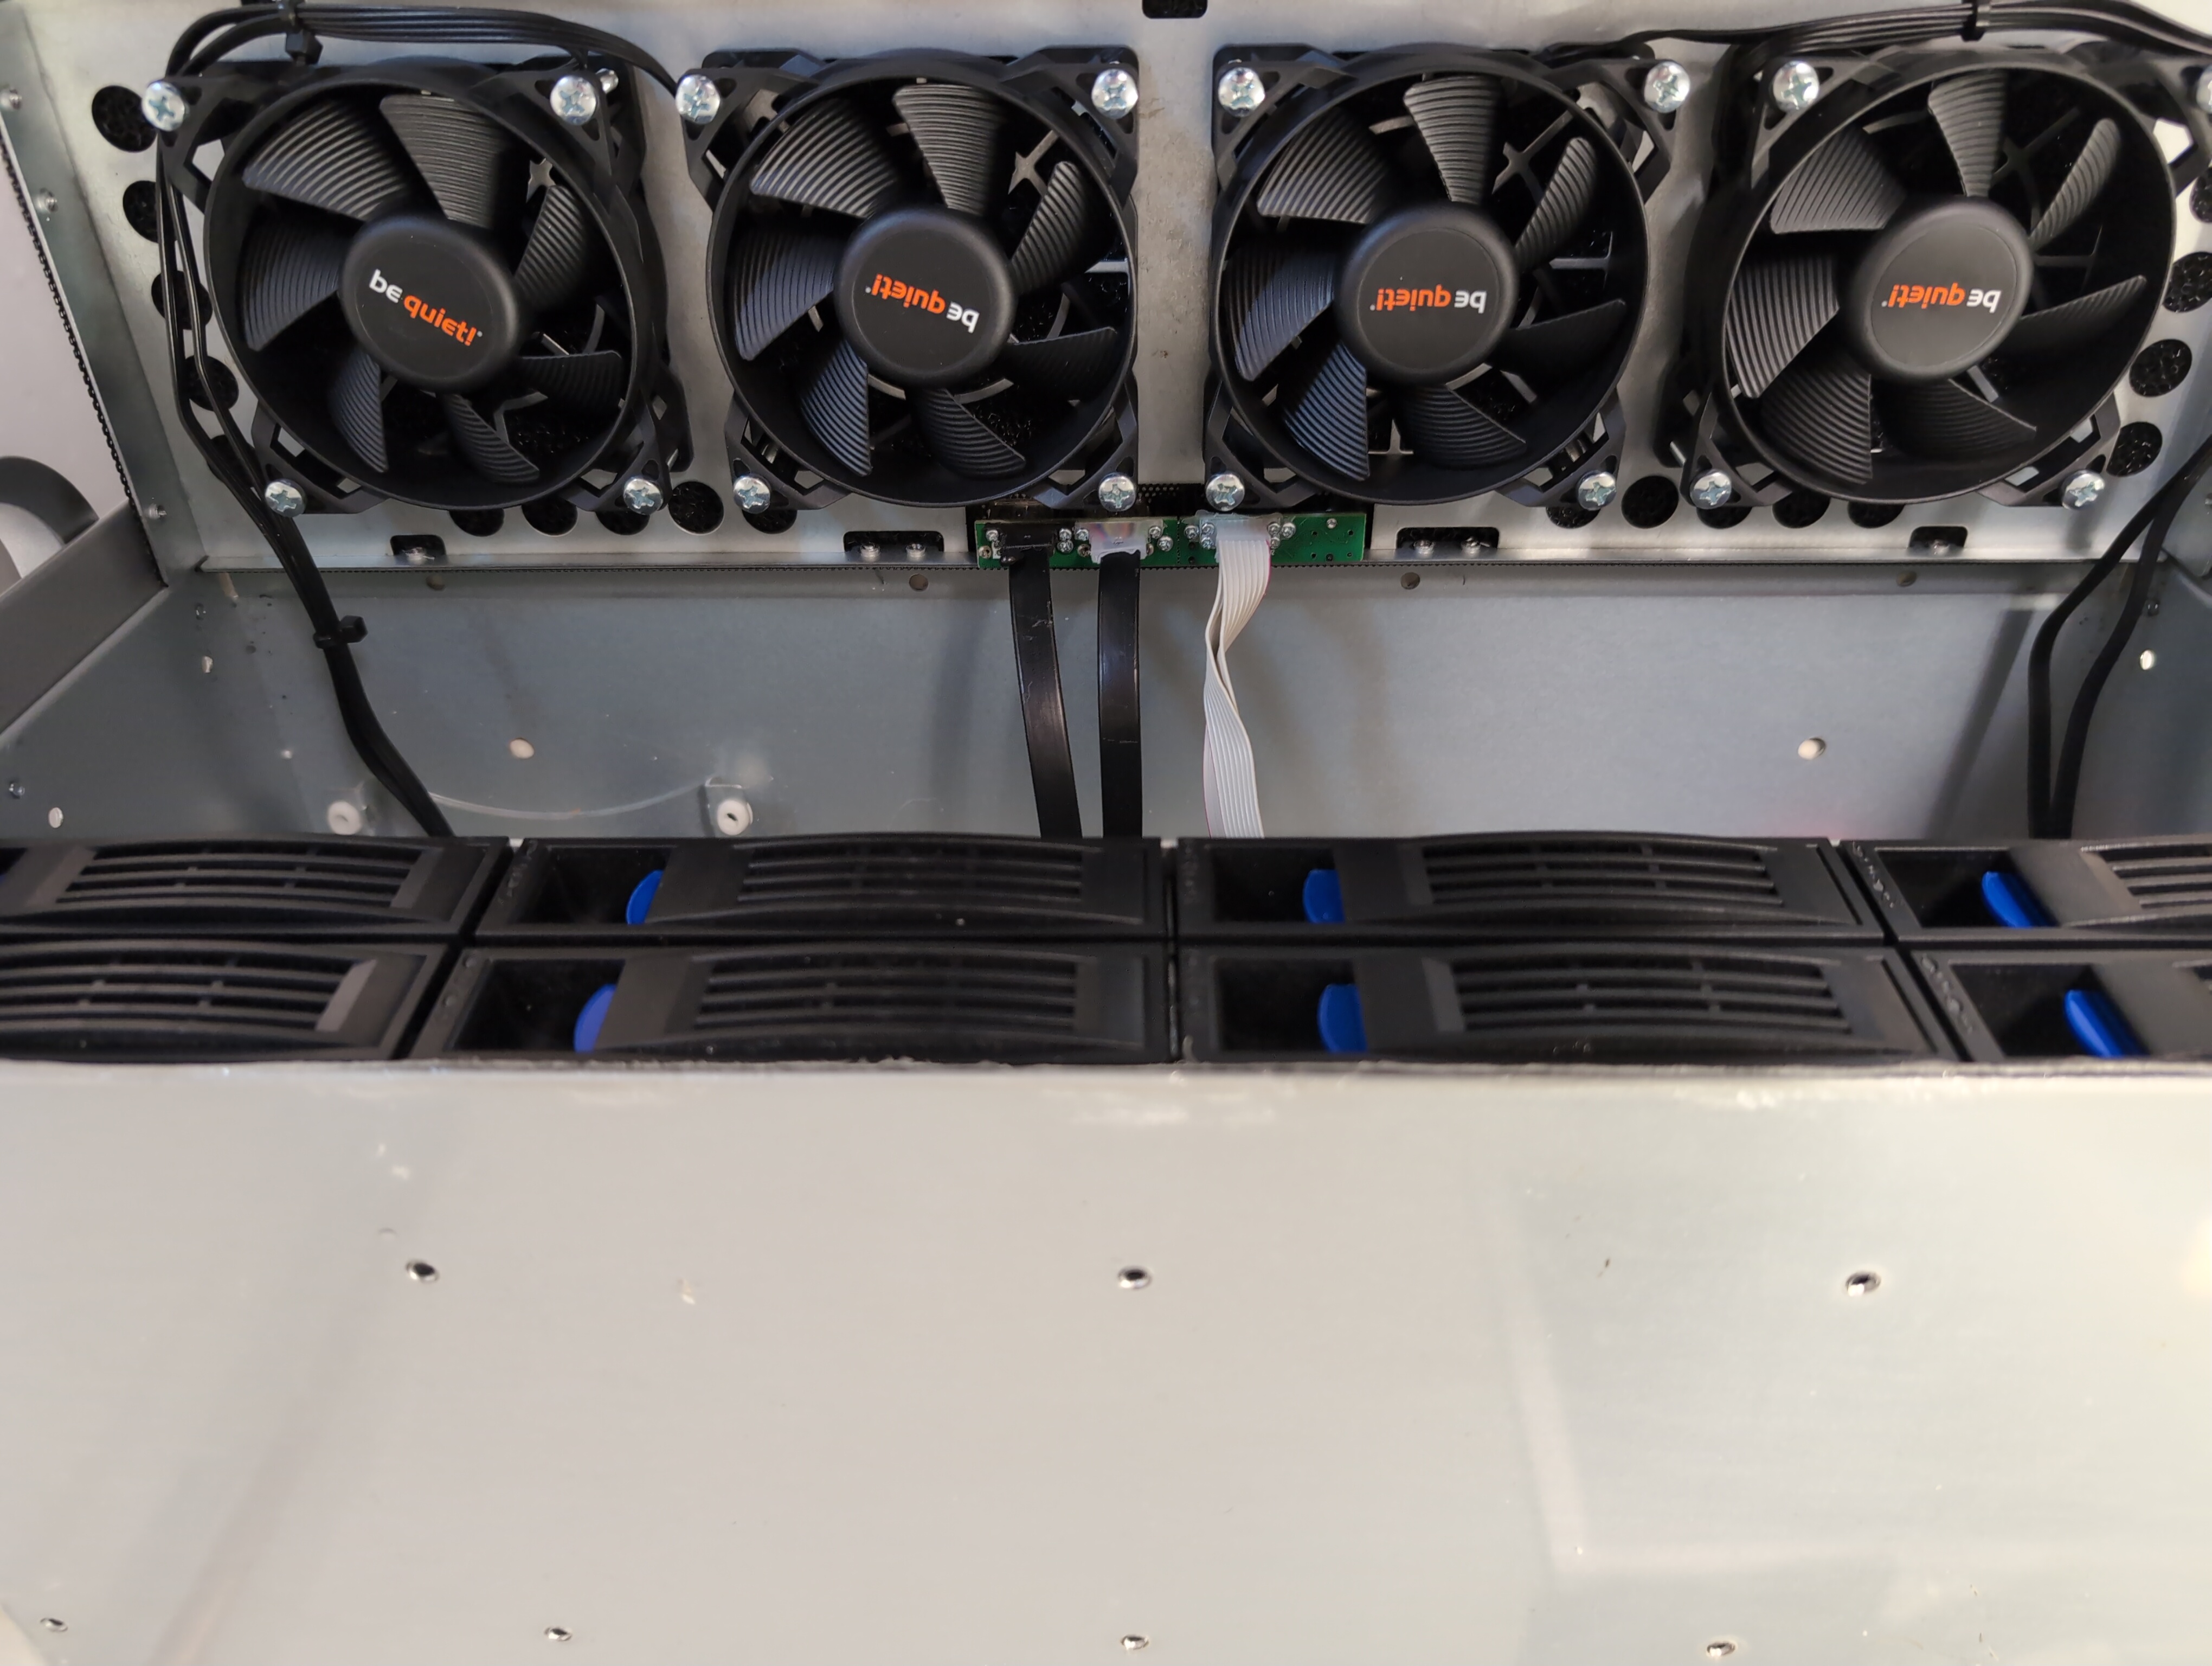
First, I attached the fans to the front and back of the case.
However, I didn’t have any screws that fit the threads in the case.
I quickly enlarged them with a thread cutter.
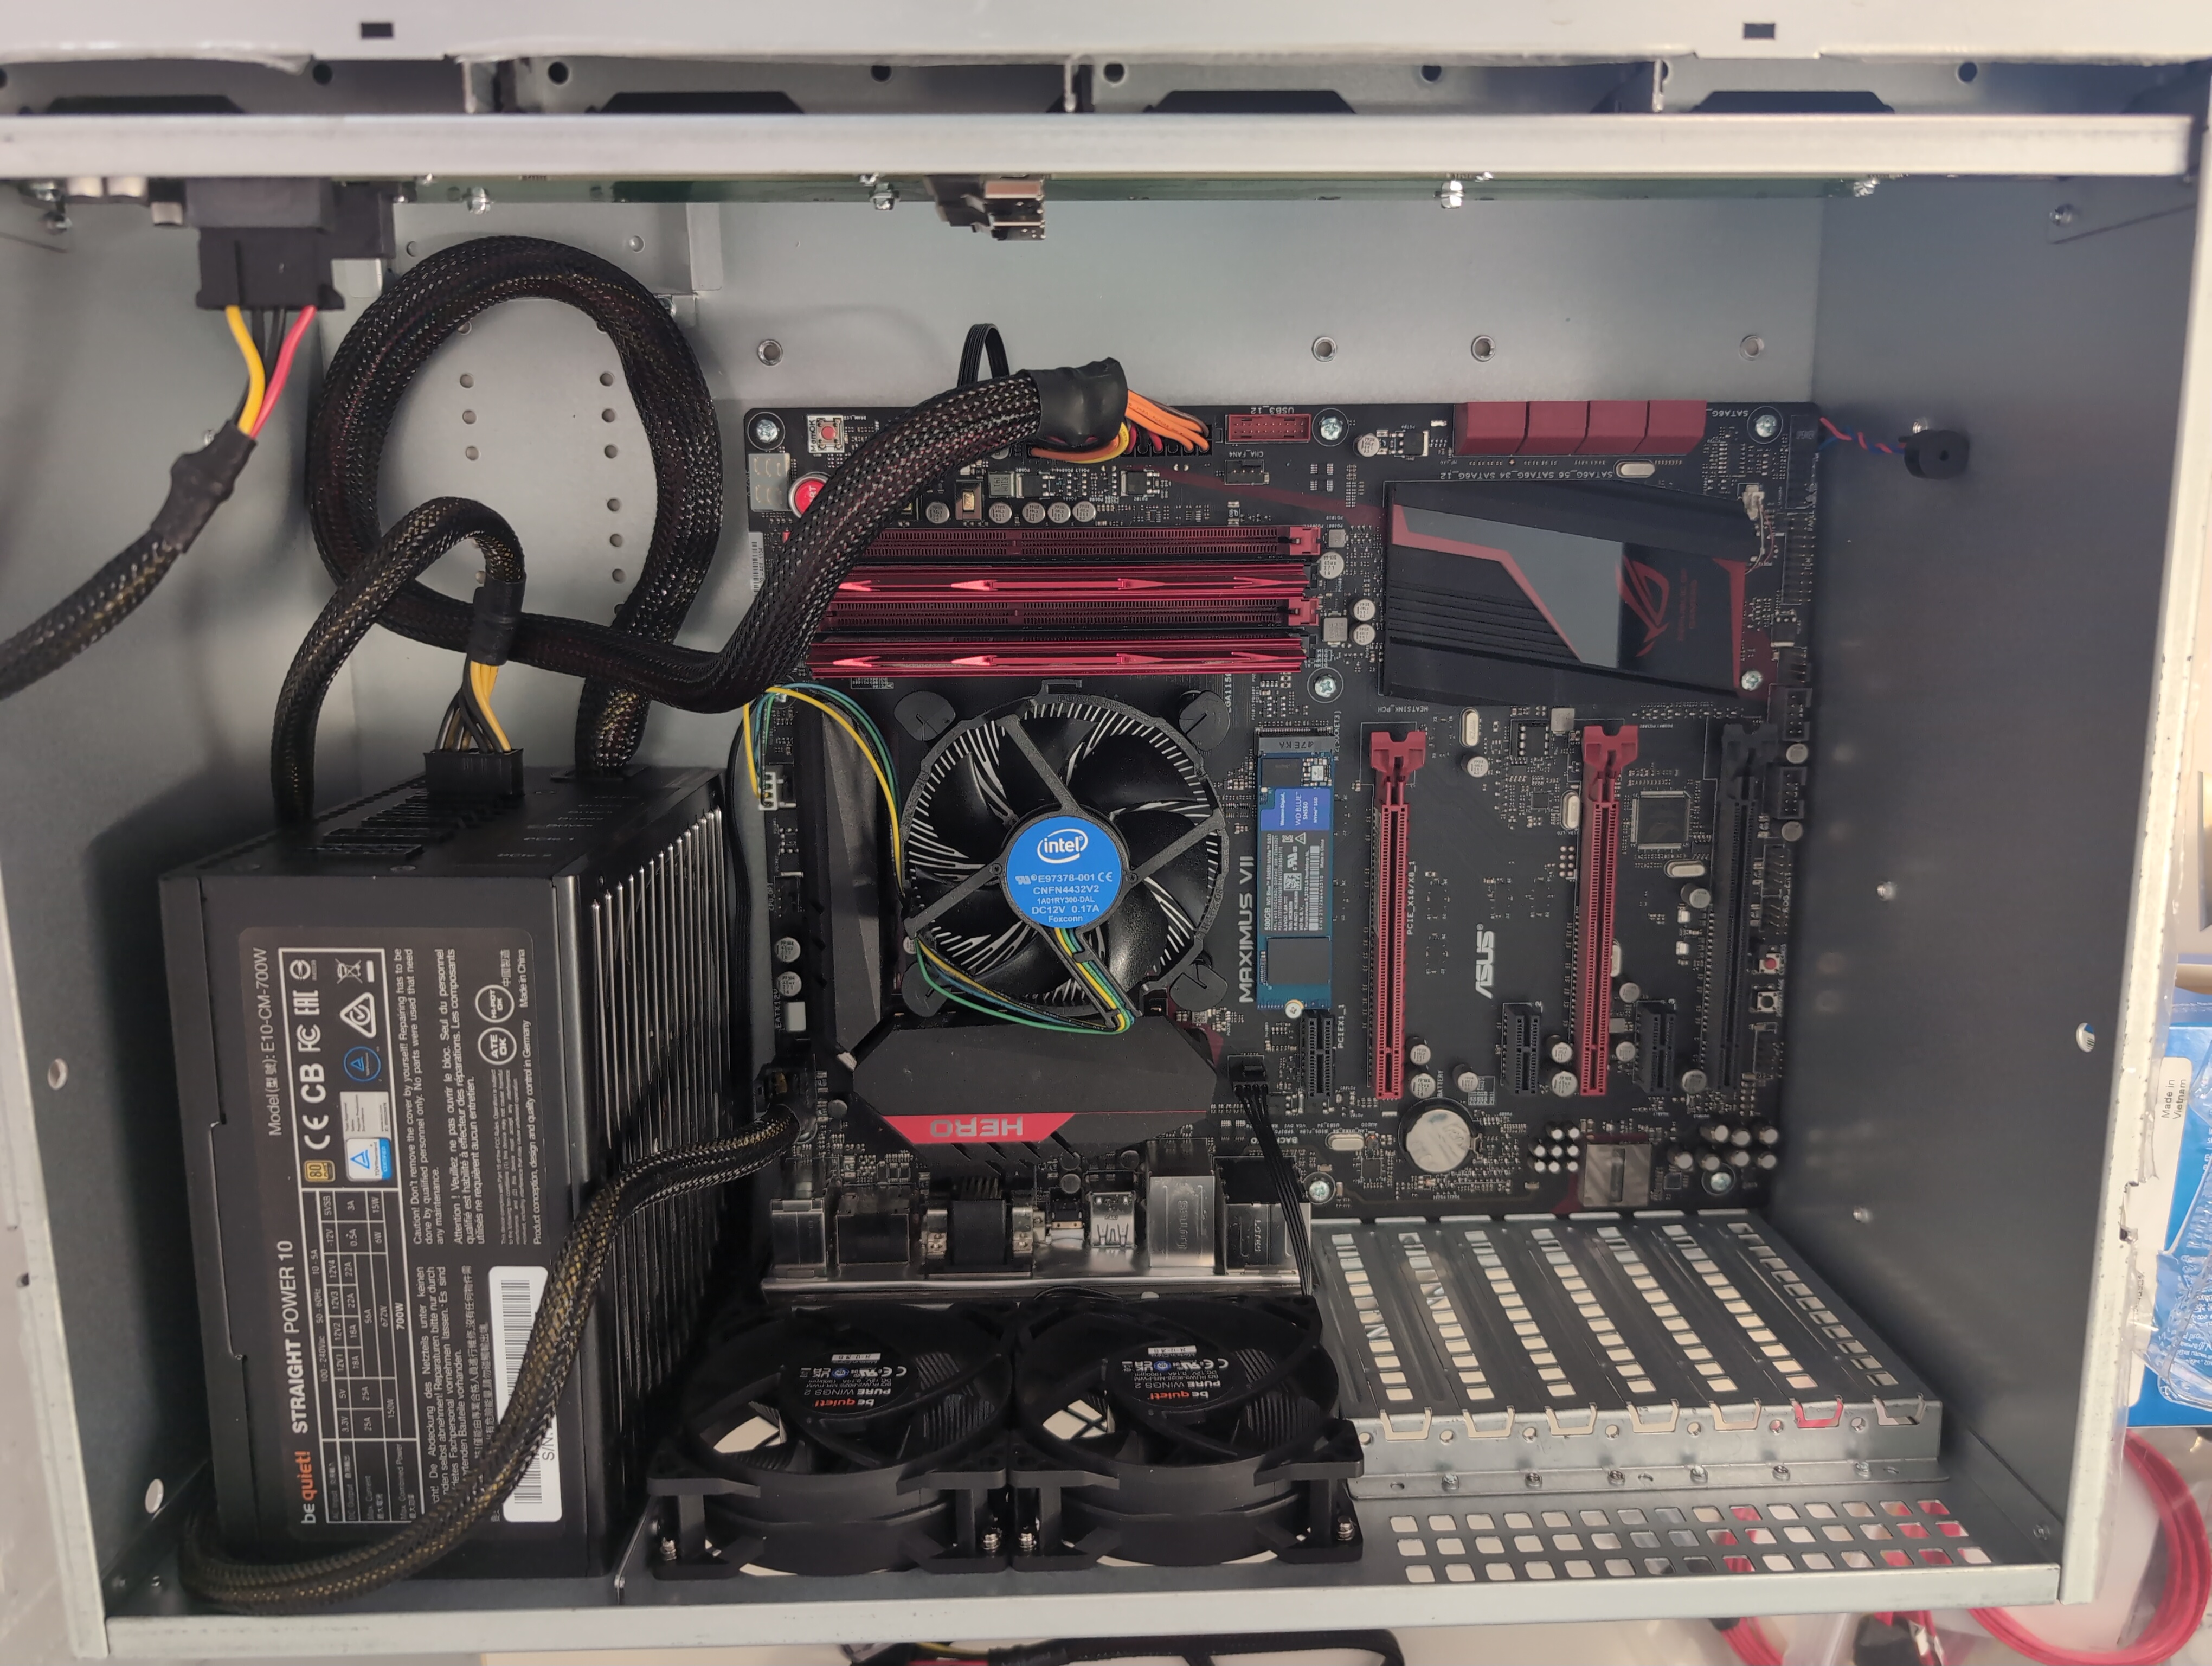
Next, it was time to install the motherboard.
After removing the previous cooler, as it was too high for the case,
and installing the original Intel cooler with fresh thermal paste,
the motherboard was ready to be installed.
To complete the installation of the motherboard, I connected all the necessary
cables and installed the RAM.
After installing the hard drives in the appropriate slots,
all I had to do was start the server.
And…
The hard drives were not recognized.
The mistake I made was thinking that the two SAS ports on the backplane
for the hard drives could be connected to the motherboard’s SATA ports
using SAS-SATA adapters.
However, when it comes to compatibility between SAS and SATA, SATA drives can be connected to SAS,
but SAS cannot be connected to SATA.
So I needed something that would provide me with at least two SAS ports.
Through another mispurchase, I learned the difference between SAS expanders and host bus adapters (HBA),
and was finally able to install the HBA in the server.
This host bus adapter provides two SAS ports and uses an 8xPCIe lane.
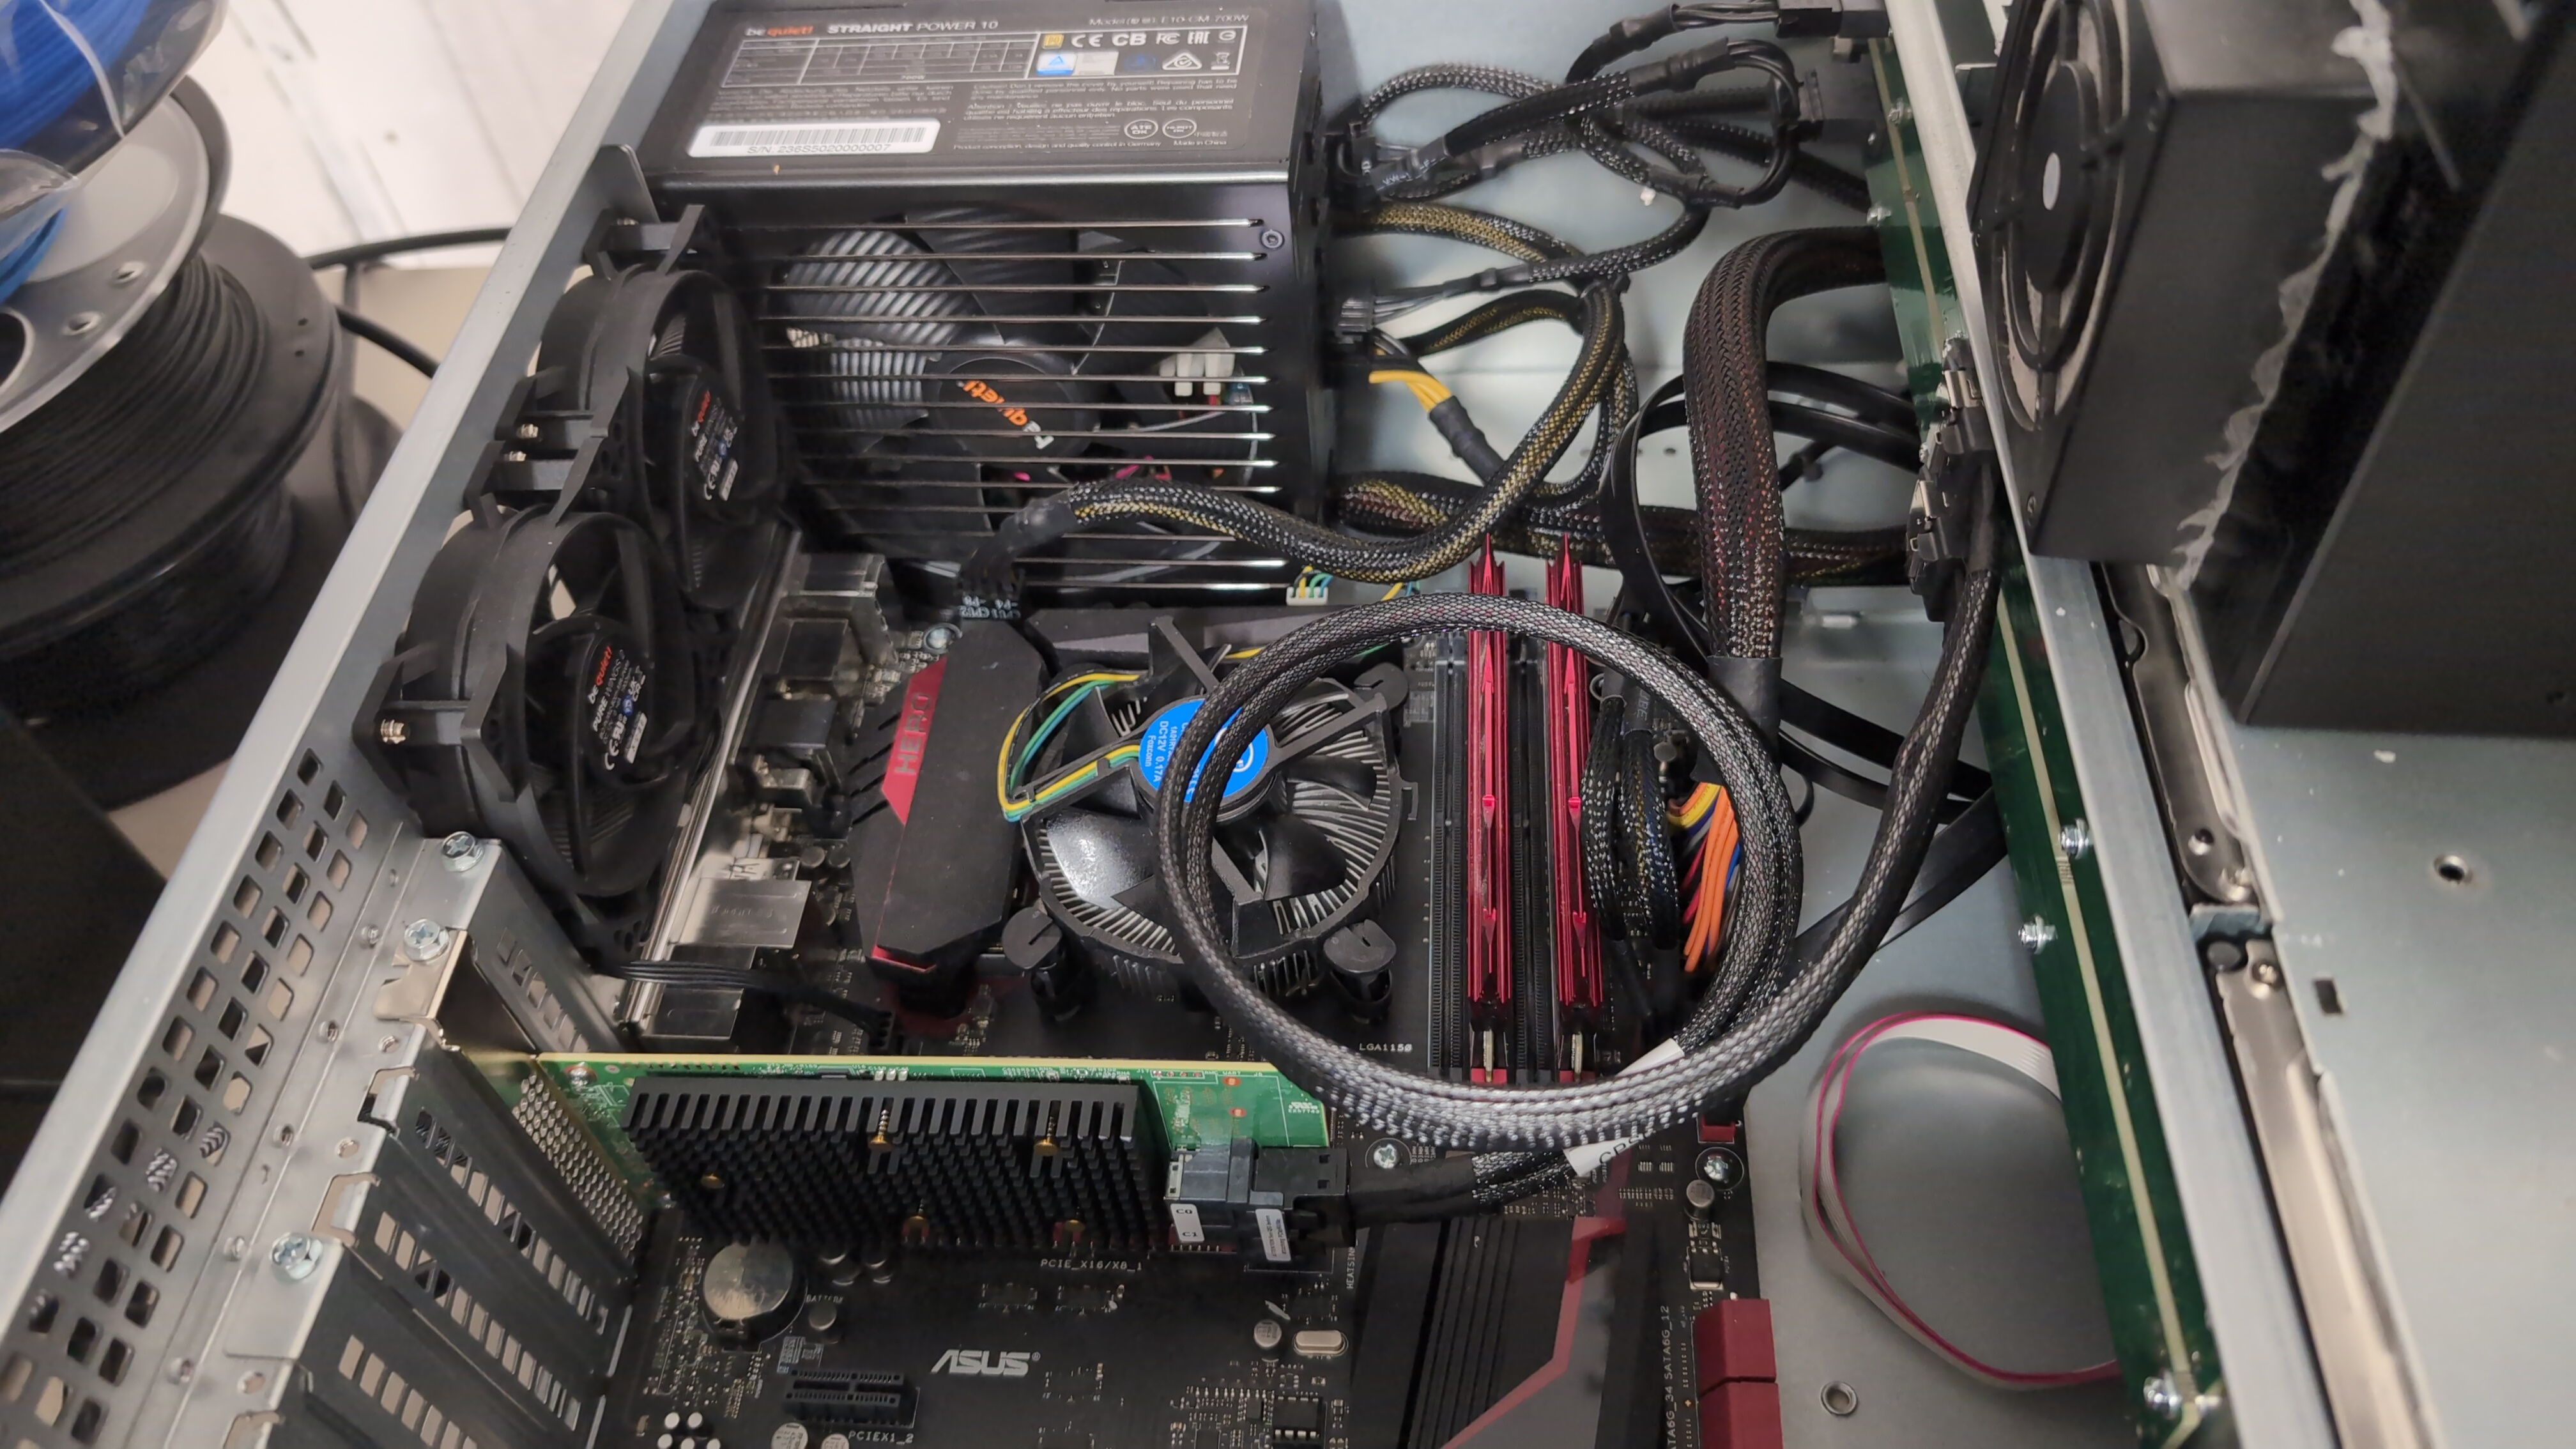
Another restart and the hard drives were finally recognized 🥳! Now I could finally assemble the case completely and take care of the rest of the setup.
Setup
In order to actually be able to use the hard drives, I formatted them with btrfs in a RAID1 configuration.
After that, all that was missing was the entry in /etc/fstab to automatically mount the file system after a restart.
Finally, the storage space problem is solved, at least for a while.
Installation
All that remains now is to install the server in a 12U rack that is mounted on the wall.
The image below shows the installed server in operation.
Since I am currently only using half of the available 3.5" slots for HDDs, the possible storage capacity should be sufficient for the time being.